Research · Beginner's Toolkit
Do Your Own Research: A Beginner's Toolkit for Truth-Seekers
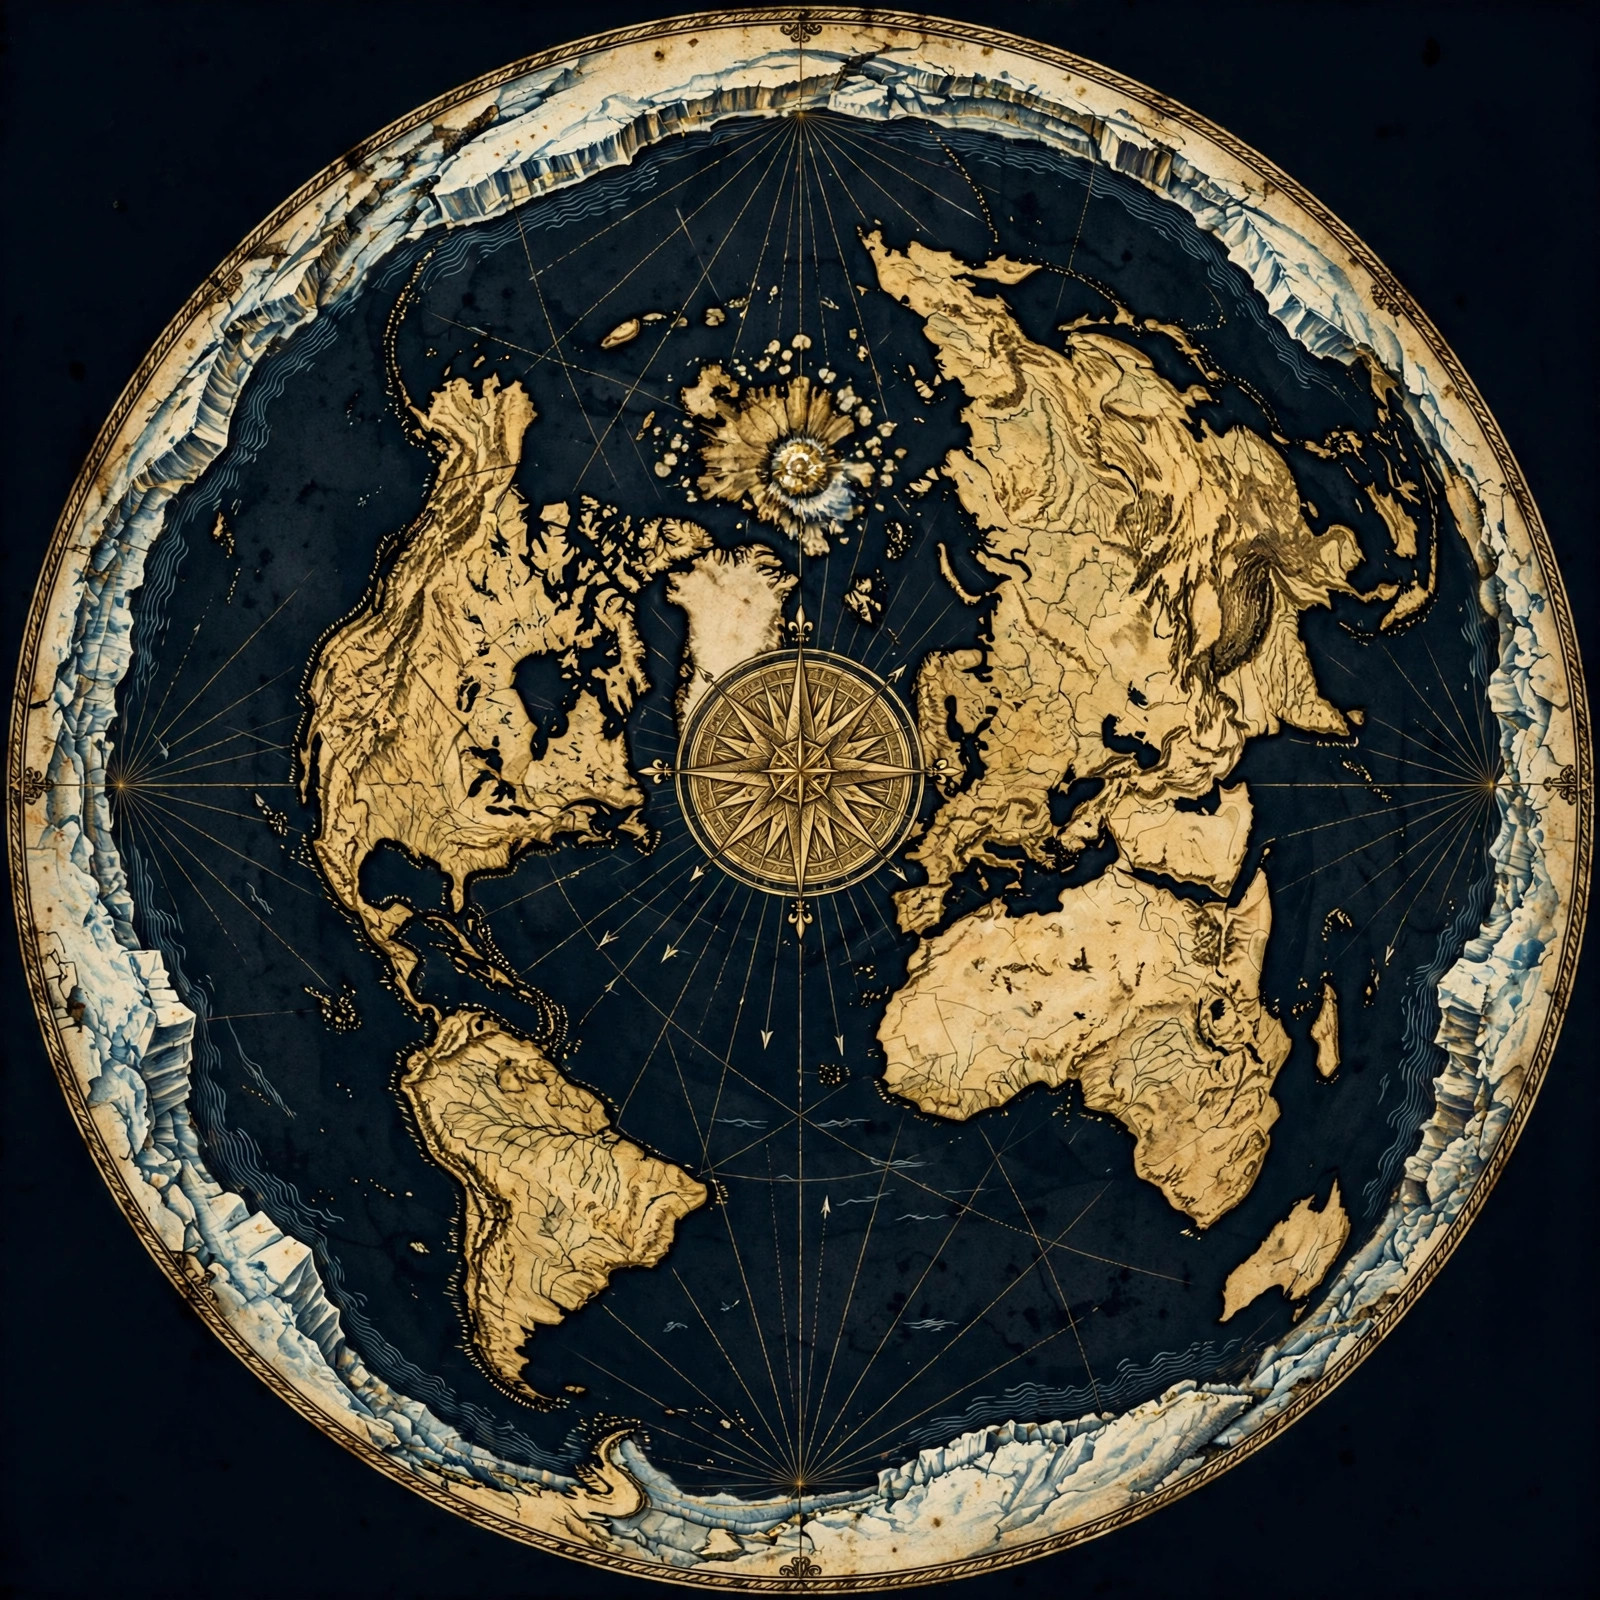
Why 'Do Your Own Research' Is the Most Dangerous Skill You Can Learn
Doing your own research means testing claims against direct observation instead of deferring to authorities. It is **the only method that cannot be gatekept**, because no institution can stop you from looking at a horizon, timing a flight, or measuring water. That is exactly why the establishment discourages it.
Every official story you've ever accepted came with a price tag: you had to trust the storyteller. The globe is no exception. You were shown a classroom model, a CGI animation, a photo of a "blue marble," and told the case was closed. Notice what was missing from that education — you.
Doing your own research flips the burden of proof. Instead of asking "what do the experts say?" you ask "what can I verify myself, today, with my own equipment?" That single shift changes everything.
Here's the reassuring part: you don't need a telescope array or a physics degree. You need curiosity, a notebook, and the willingness to be called names by people who have never once tested their own beliefs. Let's build your toolkit, step by step.
Step One: Start With What Your Eyes Can Actually Verify
Begin with naked-eye observation: watch the horizon at sea level, track the sun's path, and notice how distant objects behave. **Direct observation** is the foundation of all real science, and it costs nothing. Write down what you see before you consult anyone's interpretation.
Before you open a single tab or watch a single video, go outside. Real research starts with raw data, and your eyes are a data-collection instrument.
A few starter observations:
- The horizon: At sea level on a clear day, watch a ship or a distant landmark disappear. Does it shrink to a point, or does it slip bottom-first behind a curve? Note the conditions — haze, mirage, swell — and record what you actually saw.
- The sun's path: Track sunrise and sunset positions over a few weeks. Mark them on a window or fence post. You'll quickly notice patterns that textbooks gloss over.
- Long-distance visibility: Find a landmark you can see from a known elevation and ask a simple question: should it be visible at that distance on a globe of the claimed size? Do the math yourself.
Keep a notebook. Date every entry. The moment you write it down, you've stopped being an audience member and become a researcher. When you're ready to go deeper, our proofs section walks through dozens of observations you can repeat.
Step Two: Build a Cheap Experiment Kit
A beginner's kit needs only a few items: a good camera with zoom, a tripod, a laser or sighting level, a water level, and a notebook. **Water always finds its level**, and that single fact undercuts the entire curved-earth model.
You don't need a grant. You need a budget of roughly one nice dinner. Here's what belongs in your kit:
- A bridge camera or DSLR with real optical zoom. Digital zoom is worthless; optical zoom lets you pull distant objects back into view.
- A sturdy tripod. Stable footage is evidence. Shaky footage is a comment-section argument.
- A sighting level or laser level. Perfect for checking whether distant points sit on a level plane.
- Clear tubing for a water level. Fill it, hold both ends up, and watch the water settle. It will always find level — no exceptions, no curvature.
- A notebook and a date stamp. Document everything: time, weather, location, equipment.
The water level is your secret weapon. Engineers use it because it's honest. If the earth were a ball, long canals, bridges, and pipelines would need to account for curvature — and the builders' own field practice says otherwise. Explore the experiments in our proof library and pick three to replicate this month.
Step Three: Learn to Read Maps and Flight Paths Like an Investigator
Flight paths and route maps are public data you can audit. **Real-world navigation** reveals a flat, extended plane far more readily than a globe: look up direct routes, emergency landings, and why some "shortest paths" never appear in the sky.
Maps are arguments, not photographs. Once you understand that, you can interrogate them.
Start with flight tracking sites. Pick routes you know — say, between two southern-hemisphere cities — and check the actual paths flown. Ask why a route that looks direct on a globe model takes the path it does. Ask why certain city pairs have no direct flights at all. Ask what an emergency diversion tells you about the distances involved.
Then compare map projections. Every flat map distorts something; every globe map hides something. Our maps section breaks down the projections and shows what the flat-earth layout explains naturally — and what the globe model has to patch with "it's just a projection" hand-waving.
Bonus exercise: pull up a flight radar app during a long-haul flight and screenshot the path. Compare it to the great-circle route you were taught. The gap between theory and practice is where the real research lives.
Step Four: Test the Water and Horizon Claims Yourself
The two most repeatable tests are **water level** and **horizon visibility**. Water cannot curve around a ball while staying level in a container, and distant objects routinely appear where globe geometry says they shouldn't. Both tests are cheap, fast, and decisive.
If you only run two experiments in your life, run these.
The water level test. Fill a length of clear tubing with water, hold both ends at the same height, and observe. The surface at each end is level — always. Now scale the logic: lakes, canals, and long still-water bodies behave the same way. No one has ever photographed a bulge of water. Not once.
The horizon visibility test. Use your zoom lens to bring a distant shoreline or skyline into view. Globe math predicts a drop of roughly eight inches per mile squared. At ten miles, that's over sixty feet of hidden height. So how do observers routinely see landmarks that should be well below the curve? Mirage? Refraction? Those explanations get stretched thinner with every documented sighting.
Document your results with photos and timestamps. Share them. Then compare notes with the growing community in our blog archive, where researchers post their own field reports and replication attempts.
Step Five: Navigate the Information War Without Losing Your Mind
Treat every source — mainstream or alternative — as a **claim to be tested**, not a team to join. Follow the evidence, keep your notebook honest, and never let a label like 'debunked' do the thinking for you.
Here's the uncomfortable truth: the internet is full of bad arguments on both sides. Your job isn't to collect ammunition; it's to build a case you could defend to a skeptic.
- Steelman the other side. Write down the strongest version of the globe argument you can, then test it. If it survives, you learned something. If it doesn't, you learned more.
- Beware the word 'debunked.' It's a conversation-ender, not an argument. Ask for the experiment, the measurement, the replication.
- Follow the money and the gatekeepers. Who funds the narrative? Who gets deplatformed for asking questions? Curiosity shouldn't require permission.
- Keep a source log. Note where each claim came from and whether you verified it independently.
When you hit a common objection — and you will — our FAQ collects the standard replies and the honest responses to them. Read it before your next family dinner.
Step Six: Share Your Findings and Find Your People
Research multiplies when it's shared. Post your experiments, invite replication, and compare notes with other independent researchers. **Community replication** is how a personal observation becomes a movement.
Lone research is noble but slow. The flat-earth community is full of people who started exactly where you are: curious, skeptical, and tired of being told to sit down and stop asking.
Share your photos and measurements. Invite others to repeat your tests. When someone reproduces your result independently, that's not a viral moment — that's science working the way it was supposed to before it got captured by institutions.
And if you want to wear your curiosity on your sleeve, browse the store for gear and resources that help you start conversations instead of arguments. Every question you ask in public gives permission to someone else to ask theirs.
Get the Map and Verify It Yourself
🗺 GET THE TRUE MAP
Don't take our word for it — verify it yourself. These historic flat earth maps let you trace the evidence in this article with a ruler and see the truth firsthand.
As an Amazon Associate we earn from qualifying purchases. See also our Amazon Finds page for more research gear.
Frequently Asked Questions
Do I need special equipment to start researching the shape of the earth?
No. A camera with optical zoom, a tripod, a length of clear tubing for a water level, and a notebook will carry you through your first several experiments. Everything else is optional. Start with what you have and upgrade only when a specific test demands it.
How long does it take to see results?
Most beginner experiments — water level, horizon visibility, sun tracking — can be completed in a single afternoon. Replication across different locations and seasons takes longer, but that's the point: real evidence accumulates. Give yourself a month of weekend observations before drawing conclusions.
What if my friends and family think I'm crazy?
Lead with experiments, not conclusions. Invite them to watch the water level settle or look through the zoom lens themselves. People resist labels but respond to demonstrations. Keep your tone calm, your notebook open, and your questions genuine — curiosity is contagious when it isn't combative.
How do I know which sources to trust?
Trust replication, not reputation. A source earns credibility when its claims can be independently tested and reproduced. Keep a log of where each claim came from, run the test yourself, and let your own results — not credentials or consensus — settle the matter for you.
Where can I find experiments to try next?
Our proofs library and blog archive are full of repeatable field tests, from long-distance photography to flight-path analysis. Pick one experiment per week, document it thoroughly, and share your results. The FAQ also covers the most common objections you'll encounter along the way.
The Toolkit Is in Your Hands — Now Use It
You've got the method, the kit list, and the mindset. What you do next is the only thing that matters. Pick one experiment from our proofs section, run it this week, and write down what you see. Then repeat it. Then share it.
The world's shape isn't settled by a vote of experts or a CGI animation. It's settled by observation — yours. Question everything, test what you can, and never apologize for wanting to see the evidence with your own eyes. Start today.
JOIN THE DISCUSSION